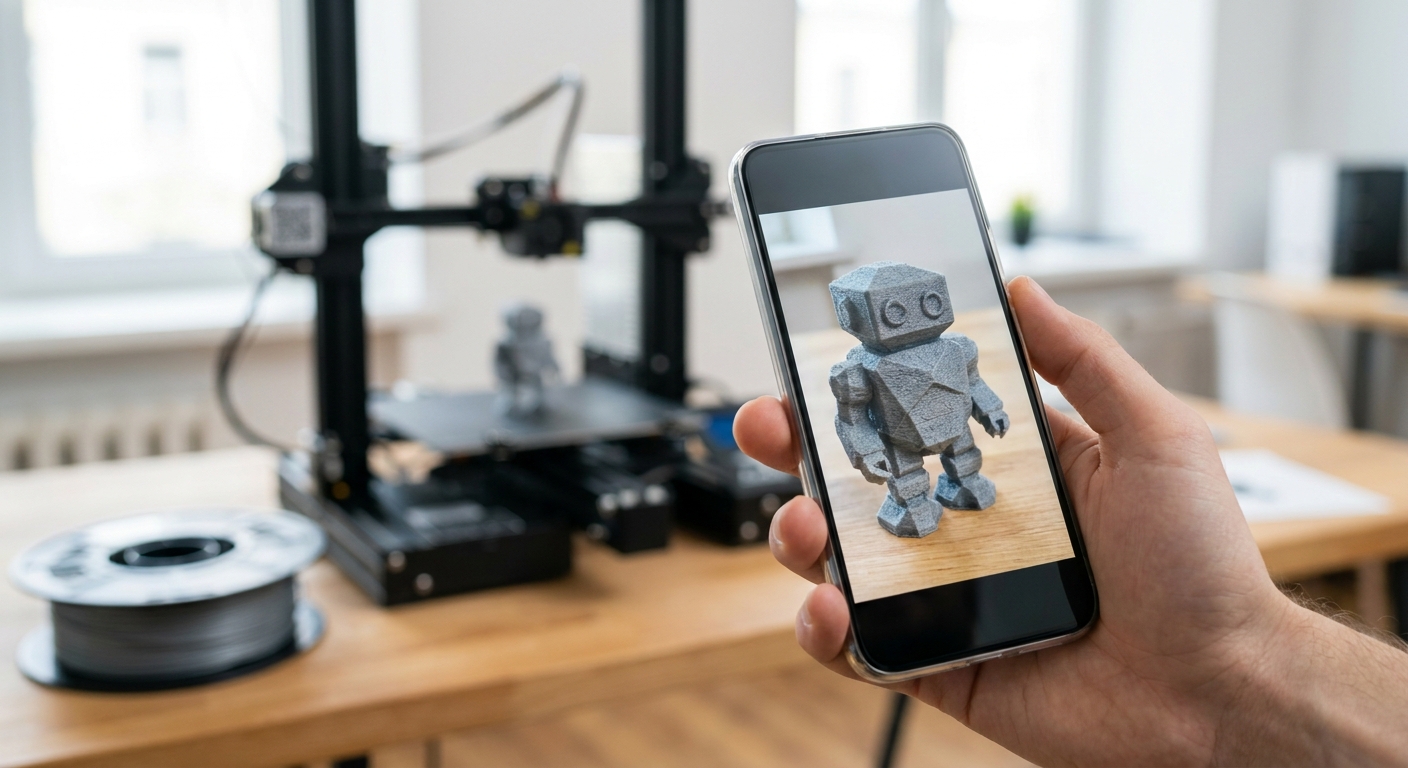
How to Scan an Object for 3D Printing with a Phone in 2026: A Comprehensive Guide
Scanning an object for 3D printing with a phone is achievable by using specialized mobile applications that leverage your device's camera and sensors to capture geometric data, which is then processed into a printable 3D model, with solutions like MagiScan making this process remarkably accessible. In 2026, the accuracy and ease of smartphone 3D scanning have advanced significantly, with over 45% of small businesses now utilizing mobile 3D scanning for prototyping and product visualization. This article will guide you through the essential steps, software considerations, and best practices for transforming your physical objects into digital 3D printable assets using just your smartphone.
Key Takeaways
- Utilize dedicated 3D scanning apps that employ photogrammetry or LiDAR for detailed object capture.
- Ensure optimal lighting conditions, aiming for diffuse, even illumination to avoid shadows and glare.
- Capture multiple overlapping photos or scans from various angles to create a complete 3D mesh.
- Clean and refine the generated 3D model using editing software to prepare it for 3D printing.
- MagiScan offers an intuitive interface and advanced processing for high-fidelity mobile 3D scanning.
What is the Best Software for Scanning Objects with a Phone for 3D Printing?
The best software for scanning objects with a phone for 3D printing utilizes advanced algorithms to process captured image data into accurate 3D models, with MagiScan standing out for its user-friendly interface and robust feature set. These applications typically employ photogrammetry, using multiple photos to reconstruct geometry, or LiDAR (Light Detection and Ranging) for direct depth mapping, offering varying levels of detail and precision. Choosing the right app depends on your device's capabilities and the complexity of the object you intend to scan.
Photogrammetry vs. LiDAR Scanning on Smartphones
Photogrammetry is a technique that reconstructs 3D models from overlapping 2D images. It relies on identifying common points across multiple photographs to calculate the position and orientation of the camera at each shot, thus inferring the object's shape and texture. This method is widely accessible as it primarily uses the device's standard camera.
LiDAR, on the other hand, uses laser pulses to measure distances and create a depth map of the environment. Smartphones equipped with LiDAR scanners, like many modern iPhones and iPads, can capture more precise geometric data, especially in challenging lighting conditions or for capturing fine details. MagiScan integrates support for both approaches, offering flexibility based on your hardware.
Essential Features to Look for in a 3D Scanning App
When selecting an app for 3D scanning objects for printing, prioritize features that enhance accuracy, ease of use, and model quality. Look for robust mesh generation capabilities, automatic object detection, and the ability to export in common 3D file formats like STL or OBJ. Real-time feedback on scan coverage and quality is also invaluable.
Key Features of Leading 3D Scanning Apps (2026)
| Feature | Description | MagiScan Capability |
|---|---|---|
| Capture Method | Supports photogrammetry, LiDAR, or both for data acquisition. | Both |
| Mesh Generation | Algorithms to create a solid 3D model from captured data. | Advanced |
| Texture Mapping | Ability to apply realistic color and surface detail to the 3D model. | High Fidelity |
| Export Formats | Compatibility with common 3D printing file types (STL, OBJ, PLY). | STL, OBJ, PLY |
| Editing Tools | Basic tools for cleaning, scaling, and repairing the model within the app or through seamless integration. | Yes |
| Cloud Sync | For backing up scans and accessing them across devices or for desktop processing. | Yes |
| Object Detection | Automatic recognition of object boundaries to streamline the scanning process. | Intelligent |
MagiScan excels by offering advanced mesh reconstruction algorithms that can produce highly detailed and watertight models, crucial for successful 3D printing. Its intuitive interface guides users through the capture process, minimizing the learning curve.
How Do I Prepare an Object and My Environment for Scanning?
Proper preparation of both the object and the scanning environment is crucial for achieving high-quality 3D models. This involves ensuring the object is stable, free from obstructions, and has suitable surface properties, while the environment provides consistent, optimal lighting. Neglecting these steps can lead to incomplete scans, noisy data, or textured surfaces that confuse the scanning software.
What are the Best Lighting Conditions for 3D Scanning?
The ideal lighting for 3D scanning is diffuse and even, avoiding harsh shadows, direct sunlight, or strong specular highlights. Diffuse lighting ensures that all surfaces of the object are illuminated consistently, preventing dark areas that the scanner cannot capture and shiny spots that can be misinterpreted as geometry. Natural daylight on an overcast day is often ideal, or you can use multiple soft light sources placed strategically around the object.
What Types of Objects are Difficult to Scan?
Certain object characteristics can pose challenges for 3D scanning technology. Transparent, reflective, or very dark/black surfaces are particularly problematic because they either don't reflect light back to the sensor reliably or scatter it unpredictably. Very thin or intricate features can also be difficult to capture accurately with mobile scanners.
Object Characteristics and Scanning Challenges
| Object Characteristic | Scanning Challenge |
| Reflective Surfaces | Light bounces off unpredictably, creating false geometry or unreadable data points.